
When we purchased our first camera (before Eric & Jamie Photography was even an idea), our goal was to actually KNOW the machine, and not rely on different camera modes to change settings automatically and make the decisions for us. We had been through about 5 consumer digital cameras between the both of us through our teenage years, and never shot in anything but Auto mode. What was ISO? Don’t ask us, because we had no idea. But since we were a newly engaged couple looking to purchase a decent camera for our upcoming honeymoon and for future vacations, we figured we’d better invest a good amount of knowledge into this camera, just as we were investing a good amount of money.
A lot of people dive into user manuals and guides. Eric is not one of those people. In fact, most of the manuals for gear we’ve purchased are still in the plastic wrap and still in the box. Eric is a hands-on learner. He learns by trial and error, which resulted in SO MANY crazy looking photos early on, until things started to click (pun was absolutely intended there). Jamie, on the other hand, is very much a “Hey, how do I do this?” learner. She’s a question-asker. She was the kid in class who raised her hand any time something didn’t make sense to her, and the teacher explained until it did. So naturally, instead of user manuals that read like Reader’s Digest, we resorted to YouTube videos and practice (the cats always make great test subjects) to hone our skills and figure out what the heck we were doing.
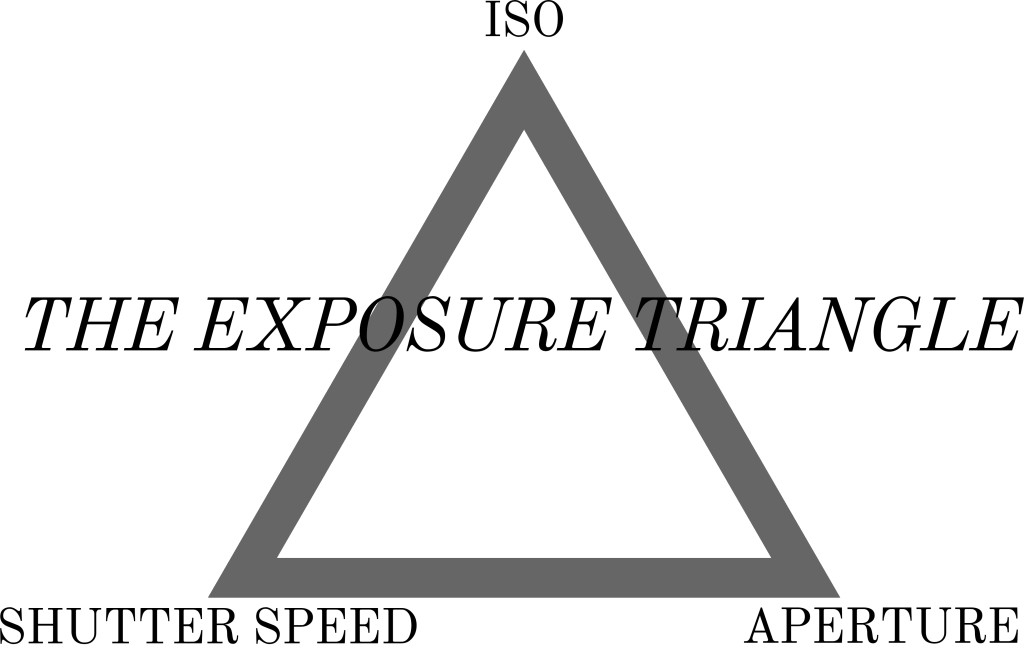
Today, we’ll go over the basics of the exposure triangle (ISO, Shutter Speed and Aperture) in our own words, and get you on your way to shooting in Manual mode 100% of the time! We want to break down the technical jargon as much as possible, and hopefully present information in a way that is easy to grasp, because it took us coming up with silly analogies for them to make sense to us, as well! Here goes…
ISO – How sensitive your camera is to light.
Think about when you’re in a dimly lit building or house and you step into the bright sunlight. If you’re like us, you probably hiss and shriek a little, because we’re so pale, it makes a vampire gasp. But your eyes almost hurt because the sun is so bright and you can’t really see anything! Eventually, your eyes get used to the light and adjust so that you can see your surroundings appropriately. Our camera’s ISO ranges from 100 to 12,800, where 100 is ideal for bright situations, and 12,800 is appropriate for very dark situations. We could say that when indoors, your eyes might be functioning at ISO 6400, and when you step outside, they adjust to ISO 100. Be careful, though. The higher your ISO, the more digital noise, or “grain,” your photo will have, causing your photos to not look so great.
Shutter speed – How quickly the image is frozen.
The amount of light that is allowed into the camera in a specified period of time. Shutter speed is displayed in a fraction of a second, such as 1/125 or 1/2000. That fraction amount is how long the light is hitting the camera sensor. The higher the shutter speed, the faster the image is captured, usually resulting in a sharper image. However, the higher shutter speed will also give you a darker image, because the sensor isn’t exposed to light for very long. It’s the more simple point on the triangle to grasp, so there’s not a whole lot to say about shutter speed when explaining the basics of it. Slower shutter speed = brighter image/risk of having a blurry focus. Faster shutter speed = darker image/more likely to be in focus.
Tip: To minimize camera shake, we set our shutter speed to at least twice the focal length of whatever lens we’re using. For example, a 50 mm lens would have a shutter speed of at least 1/125.
Aperture – How “out of focus” your background is.
This, in our opinion, is the most fun, and important, of the three points of the exposure triangle, because it helps us achieve a creamy, blurry background and allows our subjects to POP and be the center of attention in the photo. The term for this is “depth of field.” Generally, and there are always variables that have to be accounted for, a shallow depth of field is what we’re talking about above, and a deep depth of field is where more of the background is in focus. For us, we like to shoot “wide open,” or somewhere between f/1.4 and f/2.8, depending on the lens. So, keep in mind, the smaller the number, the more out of focus your background will be. We typically only close up the aperture (bigger f number) when we’re shooting family photos, wedding party or during the reception. This is because there are layers of people instead of them all being on the same focal plane (think about everyone’s toes being lined up.).
To help connect the dots of the triangle, here are some real-world examples of what our settings might look like in different situations.
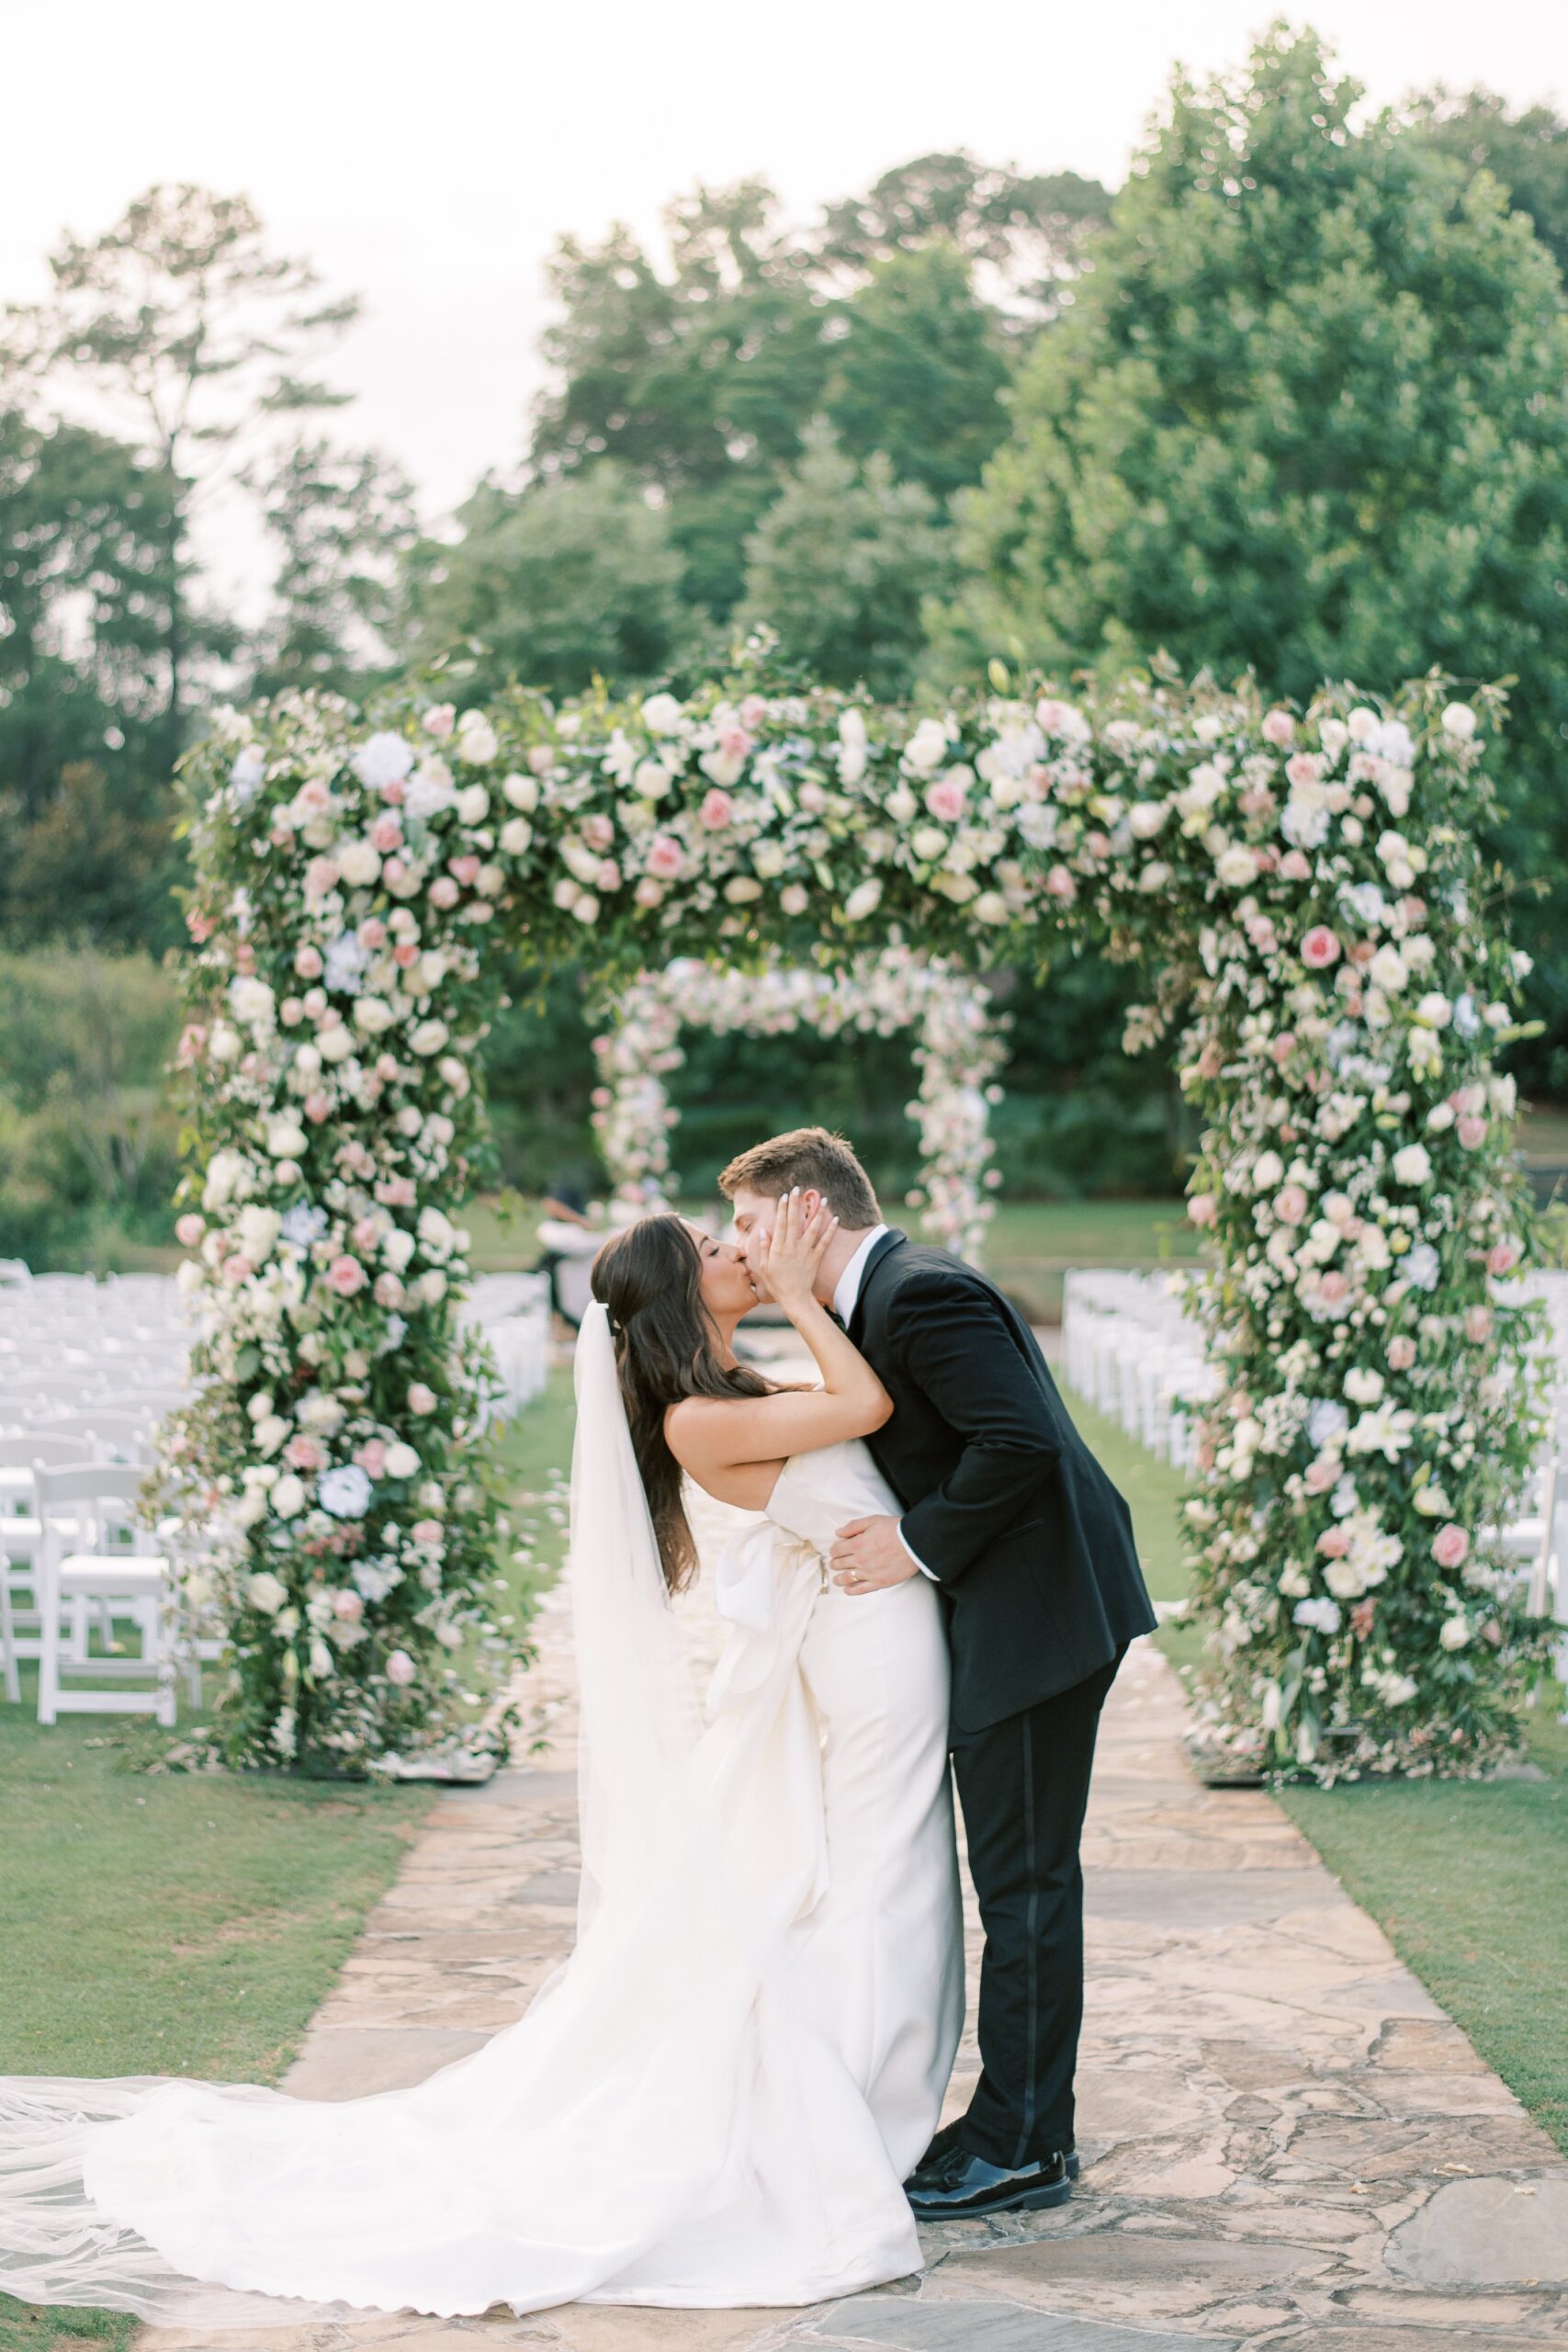
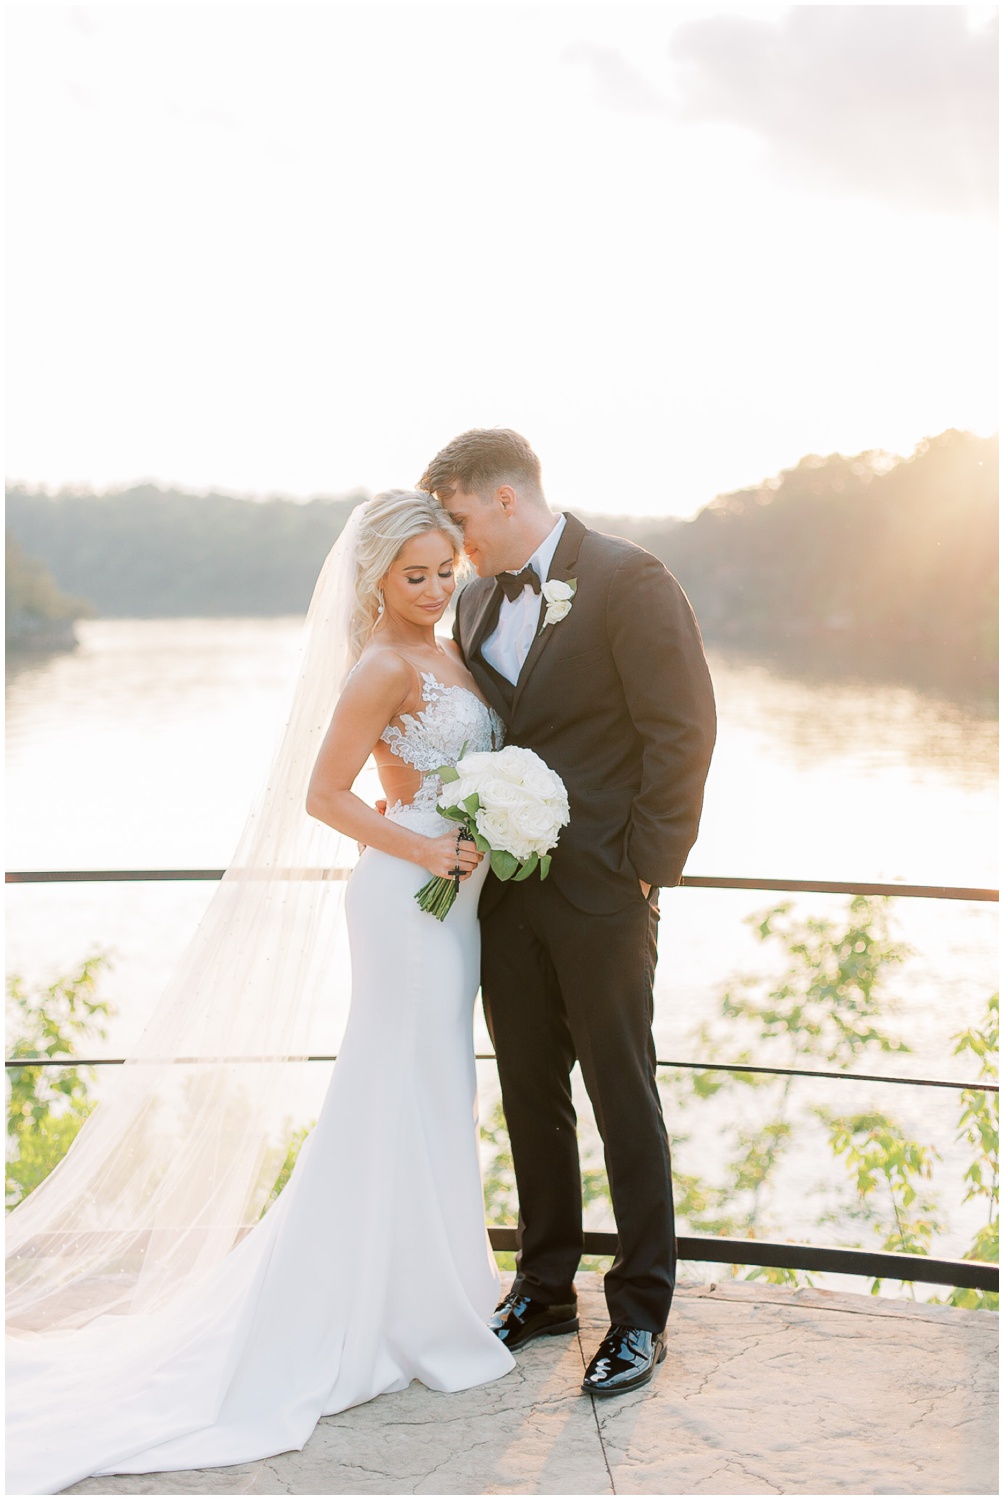
Sunny back-lit bride and groom portraits
ISO 100 SS 1/1000 f/1.4
Cloudy wedding party photos (2 rows of people)
ISO 400 SS 1/350 f/4
Dark getting-ready room
ISO 3200 SS 1/250 f/2.8
And that’s the exposure triangle in a nutshell! If any of this seems over your head, DON’T WORRY! It was over our head for a very, very long time. You’ve got this! We’ll be discussing all of these things and more as we continue in this newsletter. And while you’re finishing up your morning cup of coffee, don’t forget to join our exclusive Facebook group for photographers. Have a question? Ask away! Have a recent win in your business? Tell the group! We’re all here to learn and encourage each other!
Would you like a more personal learning experience where all of your questions are answered and you’re equipped with the tools and knowledge you need to be a ballin’ photographer and a bada$$ business owner? Check out our Education opportunities to see what option fits you best!


+ COMMENTS
add a comment